As a livebearer fish species, molly fish aren’t difficult to breed. In fact, mollies are so famous for their prolific breeding and ease of care that it’s no wonder they’re so popular in home aquaria.
They ease with which they can breed is also why they’re often used as live feed for carnivore fish species, which I must admit, is a bit unfortunate for mollies.
Yet, even if breeding molly fish is a breeze, if you want the fry to survive to adulthood, there are a few steps that you must take to protect their lives, especially that adult mollies aren’t down to parenting their fry.

If you’re thinking of giving molly fish breeding a try, in this guide on how to breed molly fish, I’ll walk you through the basics of this endeavor, so you’ll know what to do each step of the way.
Breeding Tank
Molly fish will readily breed in home aquaria if you have both males and females in the tank. For breeding, mollies prefer a tank with a temperature at around 80 °F, or even slightly higher.
Mollies enjoy neutral to slightly alkaline water pH (up to 8). Although some recommend adding aquarium salt to the breeding tank, I find that having water with hardness of potable quality works just fine when breeding molly fish.
Not all mollies tolerate salt in their water and if you house other freshwater fish with your mollies, I strongly discourage experimenting with salt in your aquarium.
What’s more important in the breeding tank is having lots of hiding spaces in the form of densely planted live plants that can offer cover both for the bearing female molly and the subsequent fry.
Live plants in an aged aquarium are also an excellent source of algae that both adult fish and fry can feed on.
As you may know from previously owning mollies or just by knowing their water temperature requirements, a water heater is quite indispensable to keep the water at the warmth they require it.
Unless you live in a tropical climate, you won’t be able to maintain temperatures at levels optimal for your mollies.
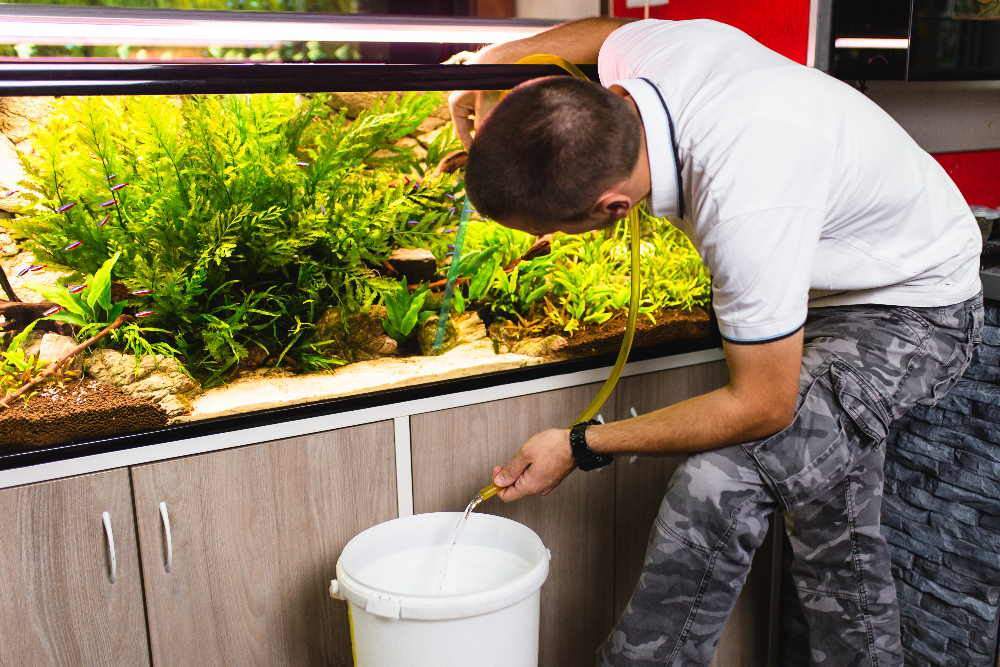
Plus, molly fish are known to produce a lot of waste, something that shouldn’t be controlled with water changes alone.
A filter will prove a great addition and extremely useful in keeping the water quality in check, so make sure you have a filter system installed for them.
Breeding Pair
You may already know that livebearers don’t lay eggs and instead give birth to live fish. To have your mollies breed, simply make sure you have a male amongst the female mollies in your aquarium and watch for signs of courtship.
Male mollies will chase the female mollies and you may notice the male under the female molly, which is a sign of copulation.
It’s important to limit the number of males that you stock your aquarium with as the male to female ratio should be 1:3, that is, one male for three females.
More males aren’t necessary, especially because of their constant pursuit of females, which will put too much stress on female mollies.
Female molly fish are constantly pregnant if male mollies are around and even when they aren’t it’s possible for the female fish to become pregnant.
Females can store the sperm for longer periods and fertilize the eggs even when males aren’t around. Therefore, if you’ve ever wondered why your molly fish came already pregnant from the pet store, you now have your answer.
Determining the Gender of Molly Fish

Male Molly Fish
Sexing molly fish isn’t too difficult. Here are some tips to tell female mollies and male mollies apart:
- Female molly fish are usually larger in size compared to the male molly fish;
- Bearing female mollies have a more rounded abdomen;
- Males feature a copulatory organ in the anal fin called the gonopodium that releases the sperm in the female body to fertilize the eggs.
When male mollies chase female mollies with anal fins bent in the opposite direction, it’s a sign that they’re going to copulate.
I suggest getting your fish from a breeder that will usually offer better and healthier fish compared to sourcing them from a pet store.
Pick lively and large fish and put them on a high-quality diet to get them into spawning conditions. Live brine shrimp, quality flakes, bloodworms and other meaty foods are all good options.
Signs of Pregnancy

Pregnant Female Molly Fish
I mentioned that molly fish that are bearing babies will have a bulkier abdomen. The female molly can produce up to a hundred eggs and give birth as frequently as every month.
Unfortunately, mollies will also eat their own babies and there isn’t anything you can do about that, other than removing the adults to keep them from eating their fry.
As the female molly is about to give birth, she will start seeking out darker corners of the aquarium and become more reclusive.
This is a good time to remove her from the aquarium where other adult fish may be housed to let her give birth and then remove her once again after she’s given birth to save the fry.
Be advised, however, that removing the pregnant molly can be stressful for her, so other options like setting up a breeding trap in the aquarium may be preferable to this option.
The molly fish will give birth by twitching her body to release the babies, which soon start to swim around looking for food and feed on algae that grows naturally on live plants in the tank.
Saving Molly Fry

Molly Fish Fry
We’ve already established that adult fish are a danger to fry and you should do your best to either remove the pregnant molly fish and place her into a separate tank. Steps must be taken to prevent her from eating her own babies.
Here’s what you can do to save molly fry:
- Set up a breeding box or fry trap in the aquarium;
- Make sure you have a heavily planted tank with enough hiding spaces for the fry to take cover from the adult fish.
If you’ve opted for a breeding box, make sure not to keep the fry longer than two weeks in it as it will stunt their growth.
Caring for Molly Fry
Since they don’t have yolk sacs to feed on after they’re born, molly babies need to be fed and can’t be expected to feed on algae and whatever else they can find in the aquarium.
Therefore, you must feed them small portions of food small enough to fit their mouths. They also require frequent feedings as their digestive cycle is quite fast.
They key to quickly raising molly fry is to feed them often (up to 5 times a day) and with small portions, so they always have some food in their bellies.
You should aim for a varied diet that consists of live foods and flake foods. Live food options suitable for mollies include baby brine shrimp, micro worms, daphnia, vinegar eels. If live food options aren’t readily available, you can opt for frozen or freeze-dried alternatives.
As for flake foods, flakes designed for feeding small fry are an excellent option, but you can just as well feed them adult flakes crushed into a powder.
You can even prepare hard-boiled egg yolk paste as a protein-rich alternative for live foods. Either way, you should rotate foods so that they’ll get enough variety.
All these feedings – however small they may be – will up the waste production of your fry and you need to make sure that your tank maintenance game is on.
Molly babies are sensitive to raising toxin levels in the aquarium, so their nursery tank should absolutely have filter system installed.
As they’re still tiny, make sure you get a system that’s fry-safe, so they don’t get sucked into the filter. A filter that’s too powerful or that doesn’t have something placed on its opening will do that to your fry.
To ensure consistent temperature (up to 80 °F), you should absolutely get a heater. Warm water will speed the metabolism of baby mollies, encouraging them to eat more, which in turn will speed up their growth.
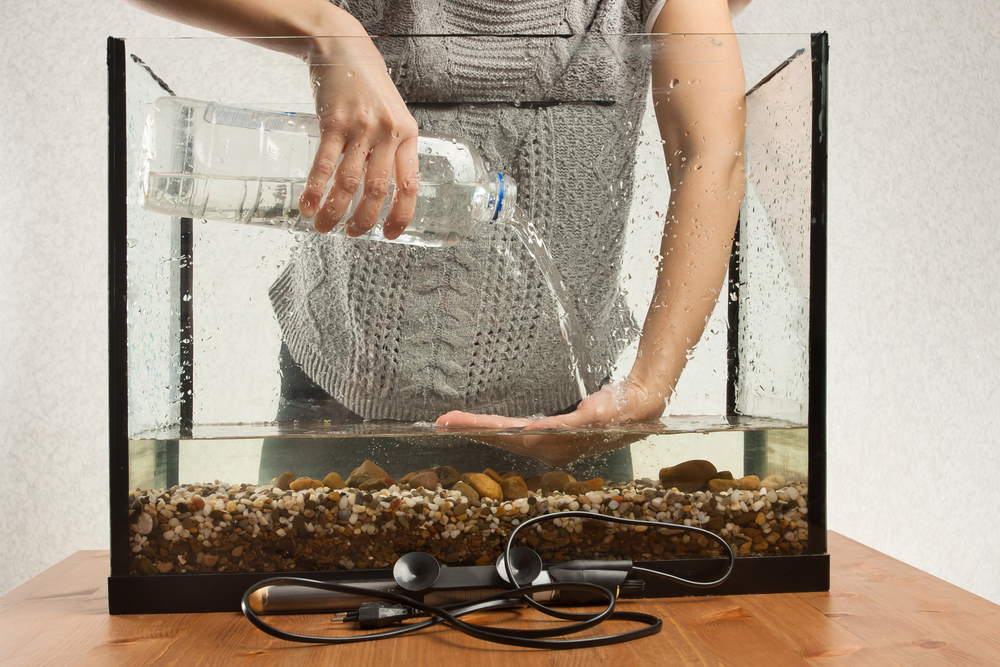
Make sure to perform weekly water changes and monitor the water quality to determine if you need more frequent water changes and in higher volume.
Conclusion
If you set out to breed molly fish, you won’t be encountering much trouble if you follow the advice in this article.
These fish are easy to breed, but they do have certain requirements that must be met, especially when it comes to the equipment needed for their aquarium (heater and filter system).
You should also be careful not to leave the fry in the same aquarium with adult fish if you don’t want them to end up as a tasty snack for your other fish.
The fry isn’t difficult to manage and raise either, however, they do require clean water and frequent small feedings to help them grow faster and stay healthy.

:max_bytes(150000):strip_icc():format(webp)/common-new-aquarium-mistakes-1380712_FINAL-5c769a8146e0fb0001a982ca.png)