Swordtail fish Livebearers are a popular group of freshwater fish. They are hardy and easy to care for, making them a great choice for beginners.
Some of the most popular are Swordtails.
This American species is an active and peaceful member of community aquariums, best known for their unique attractive tail.
To help you keep Swordtails, below we will explain their ideal setups, perfect tank mates, breeding techniques and much more…
| Category | Rating |
|---|---|
| Care Level: | Easy |
| Temperament: | Peaceful |
| Color Form: | Various |
| Lifespan: | Up to 5 years |
| Size: | Up to 6.5″ |
| Diet: | Omnivorous |
| Family: | Poeciliidae |
| Minimum Tank Size: | 15 Gallons |
| Tank Set-Up: | Freshwater with plants and swimming space |
| Compatible: | Peaceful community |
Overview

Swordtails (Xiphophorus helleri) are a freshwater species in the Poeciliidae family.
They are native to North and Central America, ranging from Mexico to Honduras. Here they live in rivers and streams with lots of plants. They are also known to tolerate brackish waters, so can be kept in low salinities.
These fish are livebearers, which mean they retain their eggs inside their body and give birth to live young.
They are closely related to the Southern Platy (a fellow livebearer) and can even crossbreed with them. This crossbreeding has produced many varieties of aquarium fish.
Swordtails are a commonly sold species, so you will likely find them in your local fish store.
Once in your aquarium they can live for up to 5 years – the healthiest tanks have the best chance for individuals to live the longest.
Typical Behavior
This is a peaceful species that works well in a community of other small peaceful fish. They can be kept in a species only tank too.
They live in groups, but they are not shoaling fish. Males might show aggression towards each other, so make sure they are outnumbered by females in a ratio of 4 to 1.
Swordtails can become timid when kept with boisterous fish, hiding away amongst the plants and decorations.
They occupy the middle and upper levels of the tank, rarely exploring down to the bottom. If given enough swimming space, they will be very active members of your aquarium.
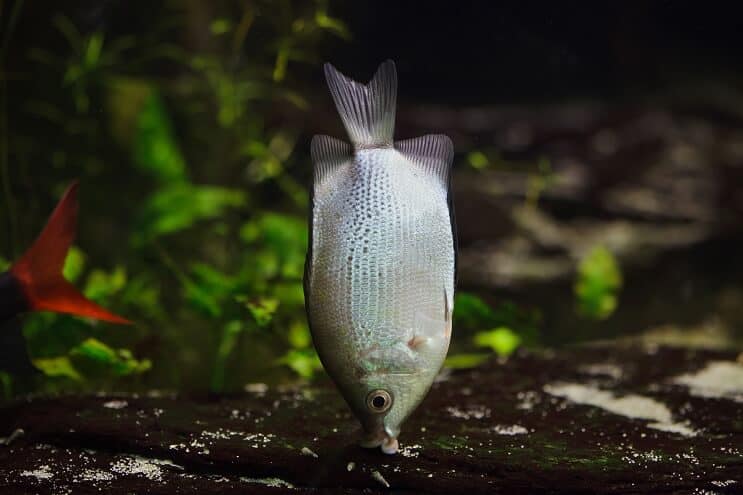
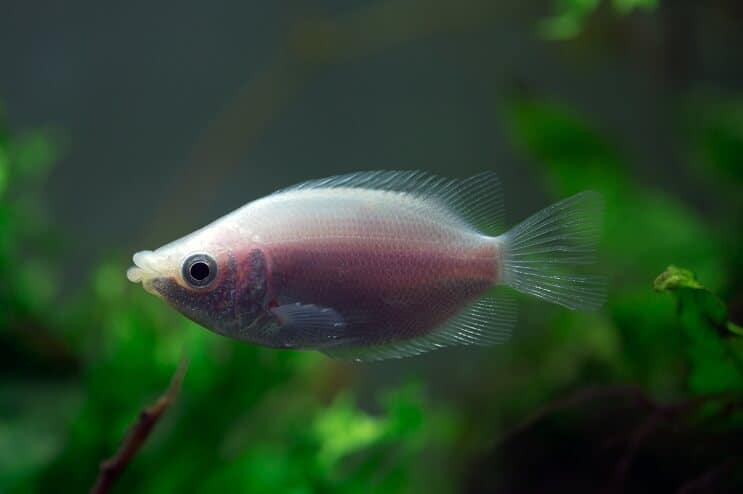
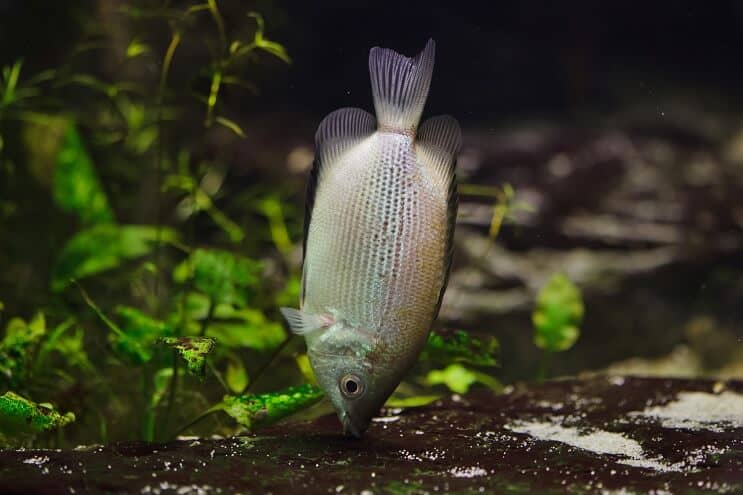
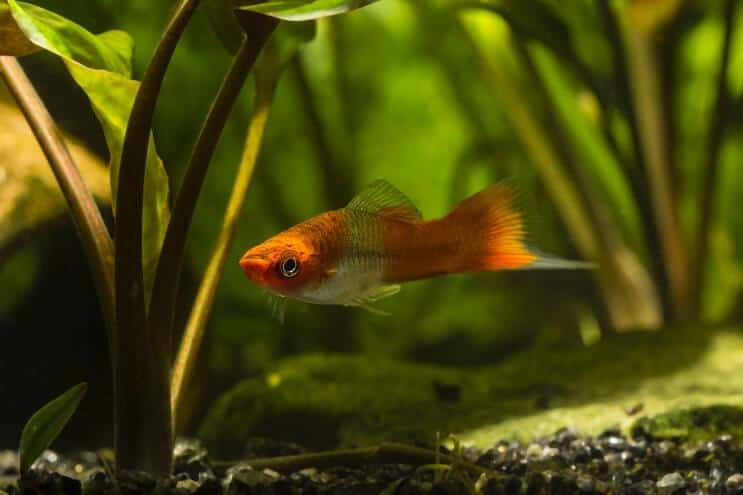
Swordtail Fish Appearance
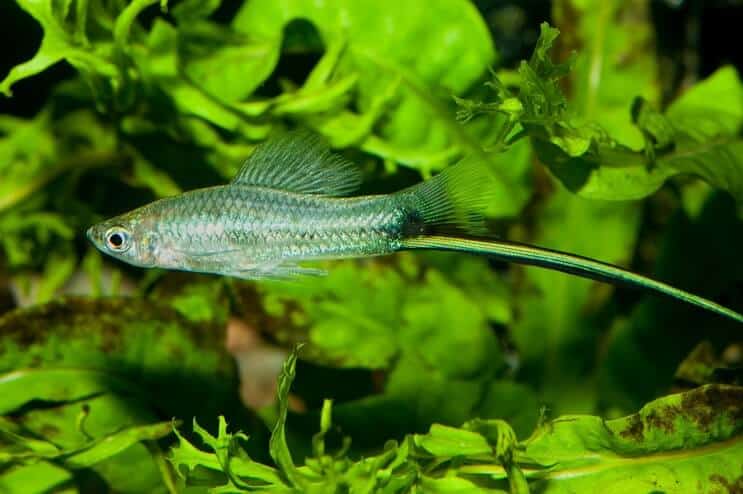
The first thing you will notice is their caudal fin.
These fish are known for having an elongated lower lobe on their tail – this extension looks like a sword, hence their name.
Only males have this though, so it’s easy to distinguish between the sexes.
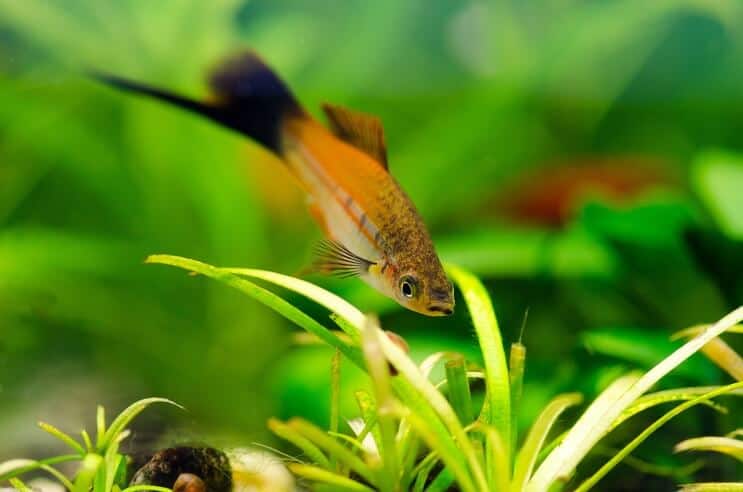
Wild populations are an olive green color with a reddish-brown lateral stripe along the length of the body. A male’s sword is yellow with black edges.
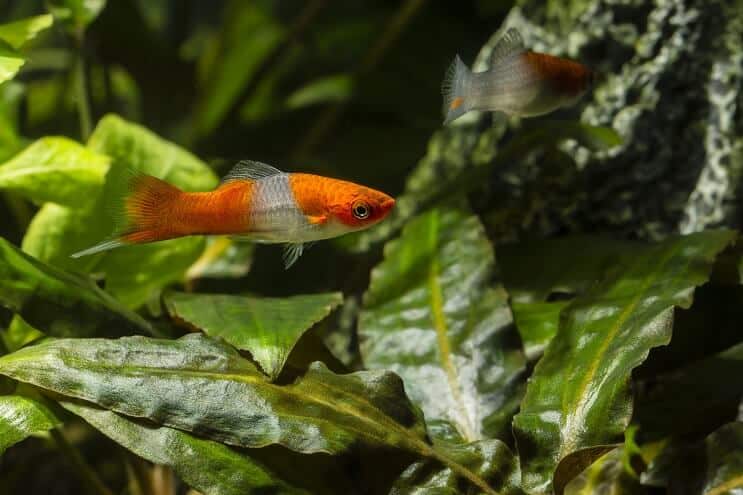
However, these days due to extensive captive breeding, you can find them in most colors. Reds, oranges and blacks are a couple of the most common variants. Their colors will intensify when kept stress-free in a healthy environment.
Males reach 5.5 inches, but females could be up to an inch larger.
Habitat and Tank Conditions
This freshwater species naturally live in rivers and streams in North and Central America. Here they would be surrounded by tropical flowing water.
There would be plenty of vegetation planted among rocks and debris. The plants provide shelter from other fish, the flowing water and sunlight. Sometimes these fish are found in brackish habitats, but this is rare and will lower their life expectancy in an aquarium.
Swordtails are hardy creatures, but they need to be kept in an environment that matches their natural tropical freshwater habitat.
Tank Setup
The substrate is not your biggest concern since Swordtails rarely venture to the bottom of the tank. Use sandy substrates if you want to replicate their habitat as closely as possible.
Rocks and bogwood create a natural feel to your tank – they also make some useful caves and crevices too.
Plants are an important addition, as these fish need to hide when they are feeling stressed. Spread them around the tank, but make sure to leave lots of swimming space.
There are so many plants to choose from. Anubias Nana, Java Fern, and Dwarf Hairgrass are some great options.
As for the water conditions:
- pH needs to be maintained at 7-8.4
- Hardness should be 12-30 dGH
- Temperature should be between 70-82°F
Changes in these water conditions could cause health problems, so manage and maintain them.
Though they live in flowing water, you don’t need to use a pump to move the water around your tank – the filter outlet should produce enough current.
What Size Aquarium Do They Need?
Although these fish are not big, they are active and need plenty of swimming space.
A single swordtail needs at least 15 gallons.
As they prefer being in groups, each additional fish needs roughly 5-6 gallons of water to keep them comfortable.
Tank Mates
Peaceful, active fish such as Swordtails pair well with other similar species. They are social fish that will enjoy the company of other passive tank mates.
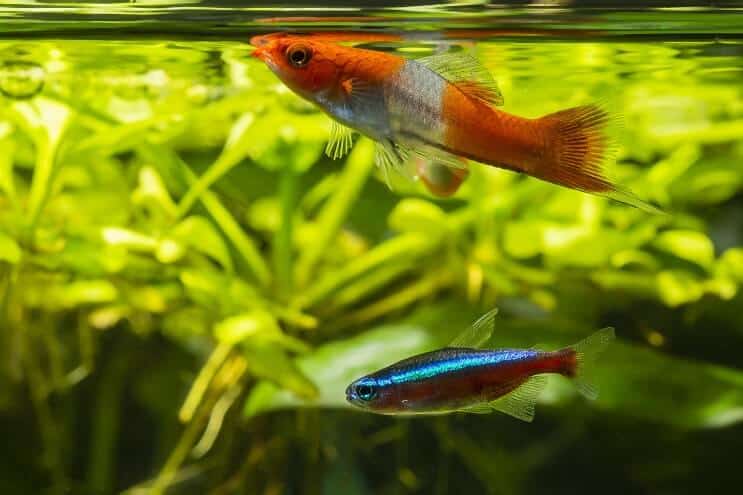
This is seen in the wild where they live alongside Platies, their close relatives.
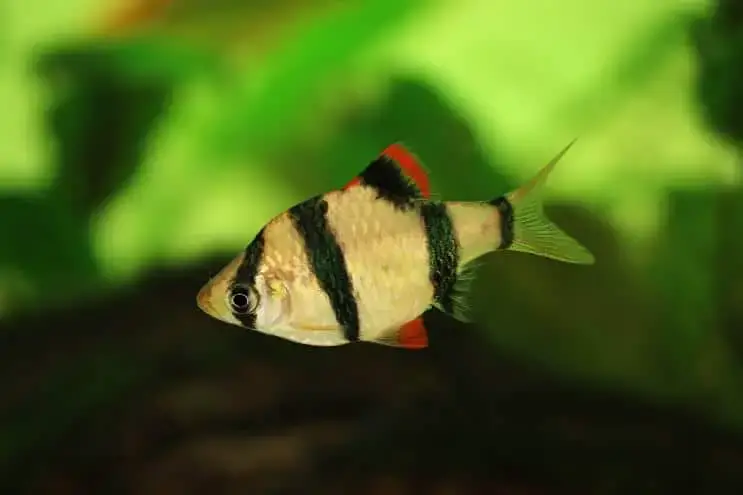
You will easily find other suitable species, the hardest part is choosing between them. You could mix them with Mollies, Rosy Barbs, Neon Tetras, Dwarf Gourami, Pearl Danio, or Angelfish in the mid-levels of the tank.
Dwarf Corydoras, Kuhli Loaches, Otocinclus, and Zebra Loaches are good options for adding some activity to the lower levels.
You should avoid aggressive species that can attack and injure your swordtails. This rules out most Cichlids like Jack Dempseys or Convict Cichlids. They would not come across any predatory fish in the wild.
To mix in some different behaviors, try adding some invertebrates. Ghost Shrimp or Apple Snails are some interesting tank mates that are often overlooked.
Keeping Swordtail Fish Together
Swordtails won’t shoal, but they are social and enjoy being in a group of their own kind.
Males usually display aggression towards each other, so in smaller tanks (15 gallons) only keep one male.
A bigger tank (30+ gallons) can hold more males – make sure to keep a ratio of one male for every four females.
What To Feed Them
Your Swordtails will eat virtually anything, so it’s easy to design a suitable diet.
In the wild their omnivorous diet would include insect larvae, algae and other vegetation.
You can give them high-quality dried foods to supply a range of nutrients.
However, as juveniles they need lots of protein. This means that live or frozen foods like bloodworms, daphnia and brine shrimp are important supplementary items to a dried food diet.
Make sure that they receive some vegetation too (this will provide some fiber to ease their digestion). Algae wafers can be a good way to do this, but you can also add in some green vegetables that you might already have at home.
Feed your swordtails 2-3 times a day. They don’t need much food, just what they will finish within a couple of minutes. Remove any food that is left over so that it does not get broken down and pollute the water.
If you keep a regular routine, they will soon learn when to expect food and become much more active at feeding times.
Swordtail fish is good to keep.
Swordtail Fish Care Guide
The good news is this fish is simple to care for. Swordtails are hardy and can survive beginner mistakes.
Firstly you need to keep them in a healthy aquarium. Check the water parameters each week so that any changes can be sorted quickly. A drop in water temperature can lower a fish’s immune system, leaving them susceptible to disease.
A poor diet is another factor that can lead to disease, so make sure you provide a varied diet containing a range of nutrients.
They are generally peaceful, so you don’t need to worry about fighting and injuries.
Since most livebearers are hardy, they are not prone to disease, but they are not completely immune either. If you notice signs of disease, isolate the infected fish in a quarantine tank to prevent it spreading to the rest of your fish.
Ich (or white spot disease) is a common issue caused by an ectoparasite. It results in white spots across the body or fins. To treat it, raise the temperature to 82°F and add 1 teaspoon of salt per every 2 gallons of water.
Another potential disease is mouth fungus, also known as cottonmouth because it causes fluffy growths around the mouth and fins. This can be treated with antibiotics purchased from a pet store.
We think you need this. Syphon Pipe
How To Breed Swordtail Fish
Swordtails are livebearers which means they give birth to live young after the eggs have developed in the female’s body.
There are a few things you can do to encourage them to breed.
- Gradually increase the water temperature to 80-82°F.
- Keep the tank as clean as possible.
- Provide them a healthy diet that provides a range of nutrients, especially proteins.
Once ready the males will swim alongside the females, occasionally nipping them. This can stress the females, so there needs to be more females in the tank than males.
Interestingly, there is evidence to suggest that females prefer males with a larger ‘sword’.
Once the female is pregnant, her belly will swell with a dark gravid spot by the anal fin.
Separate the fry into a breeding tank once they emerge or the parents might eat them.
The fry will be too small to eat adult’s feed, so crush up some flakes or purchase some specialized foods.
Are Swordtail Fish Suitable For Your Aquarium? (Summary)
If your aquarium includes a selection of peaceful freshwater fish, Swordtails will probably be a great addition. They get on well with other species but will quickly become stressed with aggressive tank mates.
By keeping the tank clean and maintaining their preferred conditions, you should not have many problems.
You might end up with more fish than you intended though, because these livebearers breed frequently.
This colorful fish is perfect for beginners and should lead to a successful start for your fishkeeping hobby.